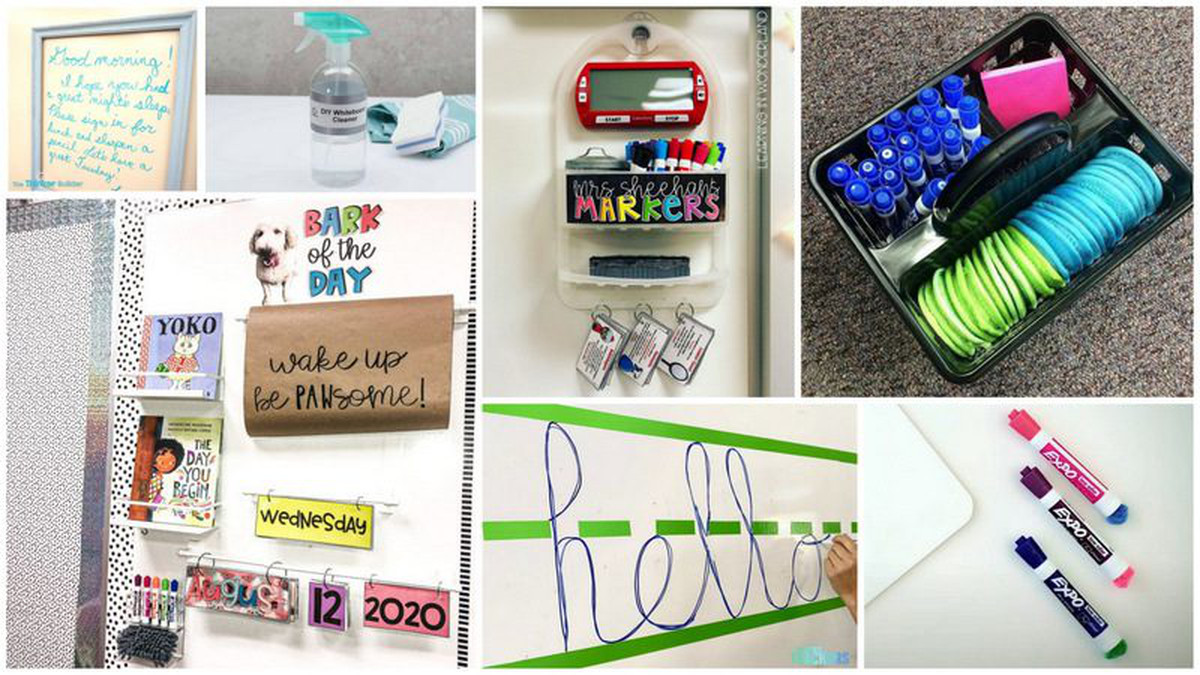
Whiteboards are a staple in most classrooms these days, and they have so many uses. That’s why, together with our friends at EPSON, we’ve rounded up the best ways to keep your boards sparkling clean with DIY tips and tricks. We’ve also found creative ideas for decorating, organizing, and making the most of this vital school tool. These whiteboard hacks are just what you need to make teacher life a little bit easier!
Plus, want to know more about how you can save your beloved whiteboard space by using an interactive laser projector instead of a flat panel? Check out some of the projector options available from EPSON, which allow you to keep your wall space WHILE adding interactivity to your classroom.
(Note: WeAreTeachers may collect a share of sales from the links on this page. We only recommend items our team loves!)
General Whiteboard Hacks
Are you getting the most out of your board space? These whiteboard hacks and ideas turn your walls into the ultimate multitaskers.
1. Combine your interactive projector and your whiteboard
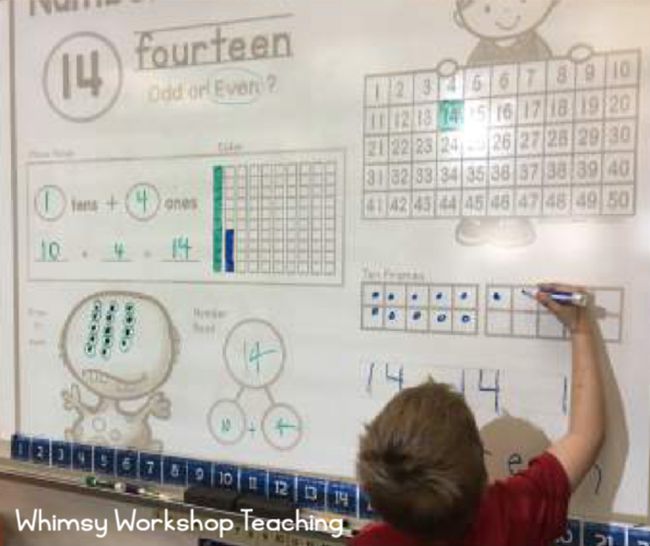

Let’s face it—most teachers don’t bother pulling down their projector screens anyway. Since you’re already projecting onto your whiteboard, take advantage of it! Mark it up, like Whimsy Workshop Teaching does.
2. Add cute borders to dress up whiteboards
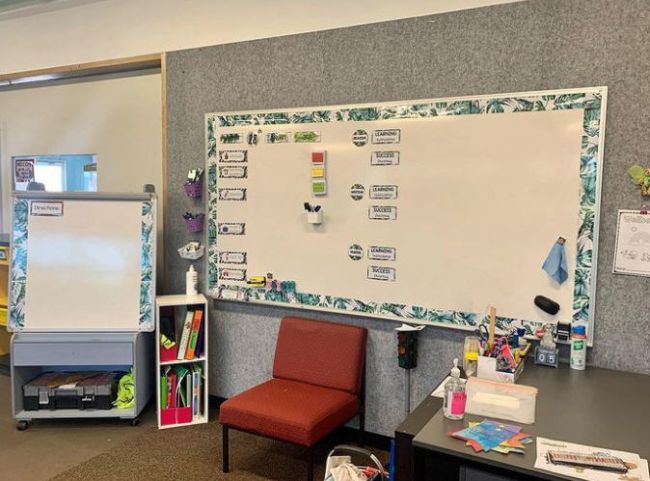

This is one of those whiteboard hacks that’s simple, but can have such a big impact. We love how @teach.share.care.mrsbarker added matching borders to her portable board too!
3. Label your borders
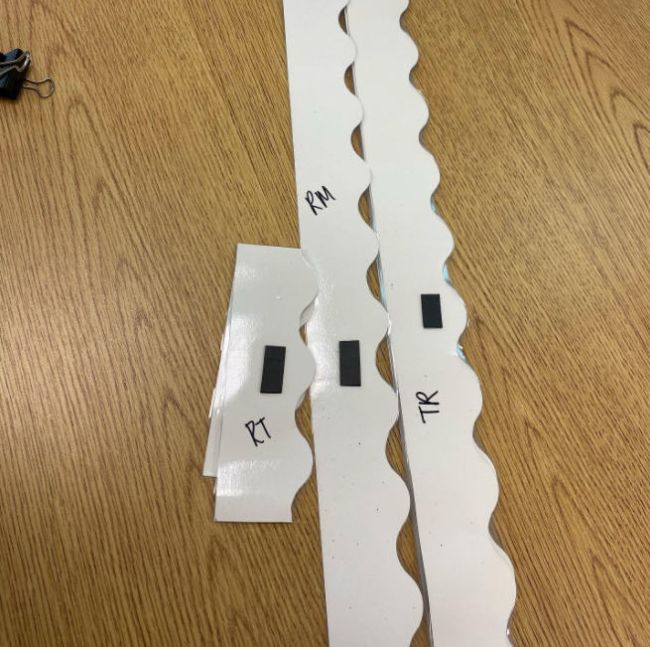

@coffee.and.cardigans says, “I love having borders on my whiteboards, however, I hate having to piecemeal them back at the beginning of the school year. A few years ago, I learned that labeling the back of the border to where it corresponds on the board makes it SO much easier. I just write TL (top left), BR (bottom right), BM (bottom middle), etc. Nothing fancy! This has helped me set up my whiteboards so much quicker rather than playing border Tetris.”
4. Put writing lines on the whiteboard with washi tape
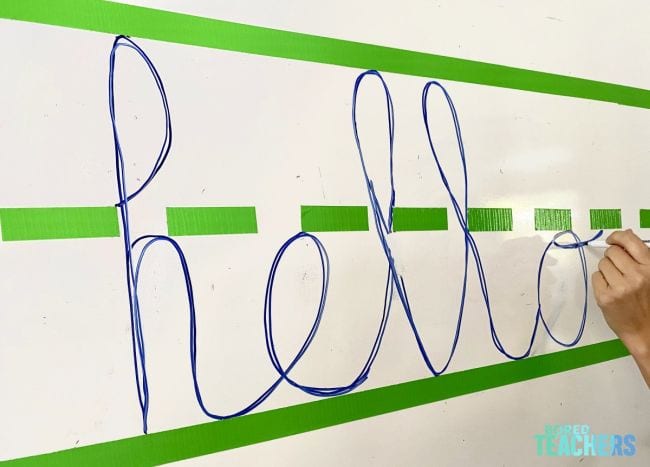

If you teach handwriting, you’re going to love this washi tape idea from Bored Teachers. Use it to make lines on your whiteboard, plus try adding lines to the small whiteboards your students use too.
5. Try out magnet paper
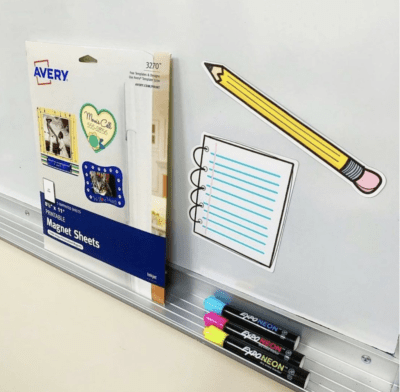

@taleof2teachers uses magnet paper to make items to stick on the whiteboard. Create arrows and callouts for teaching instruction or make cute decorations.
6. Add magnets to manipulatives
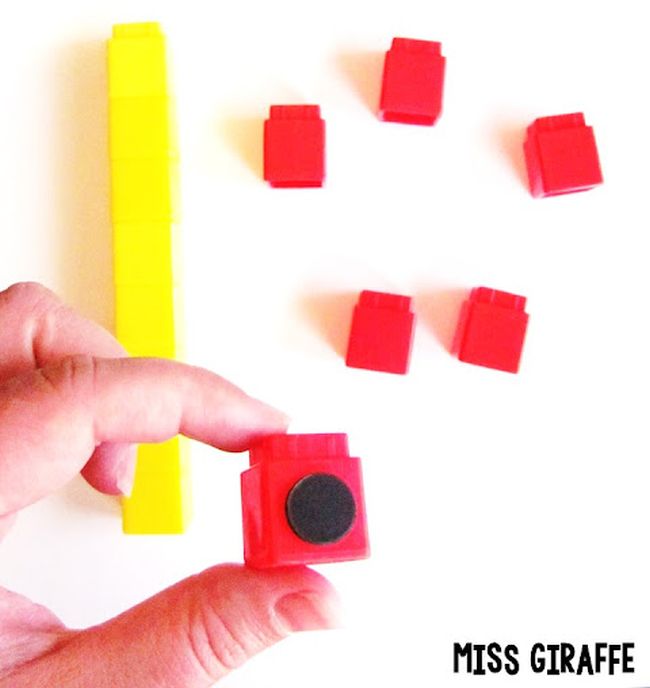

If you can add a magnet to it, you can use it on your whiteboard! Miss Giraffe uses this idea for base 10 cubes and rulers.
7. Frame off sections
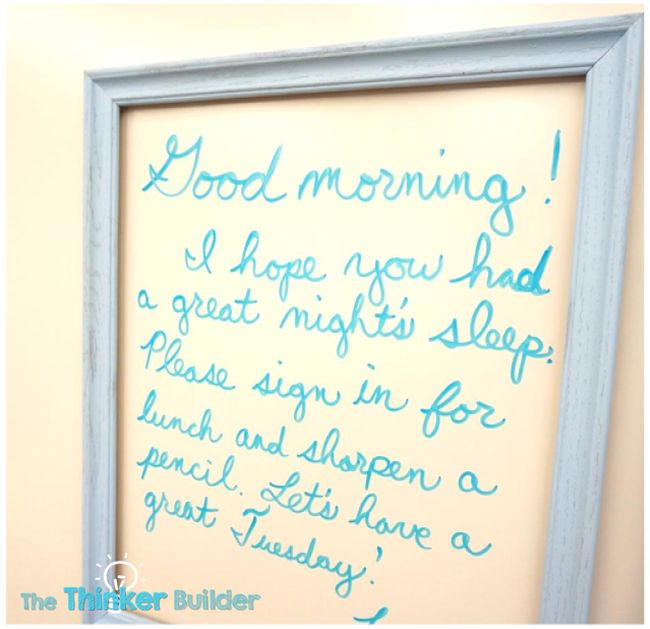

Pick up some old frames at the thrift store, remove the glass and backing, and then add some magnets. You can hang them on your board to showcase announcements, star work, and more. See more at Who’s Who and Who’s New.
8. Hang anchor charts from magnetic curtain rods
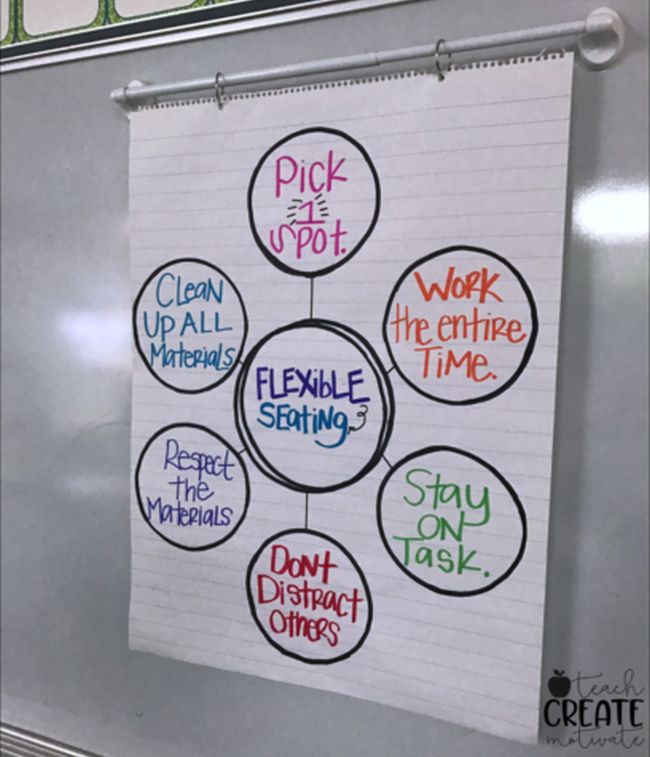

Bring your anchor charts front and center like Teach Create Motivate and hang them from a magnetic curtain rod.
9. Make a whiteboard coloring wall
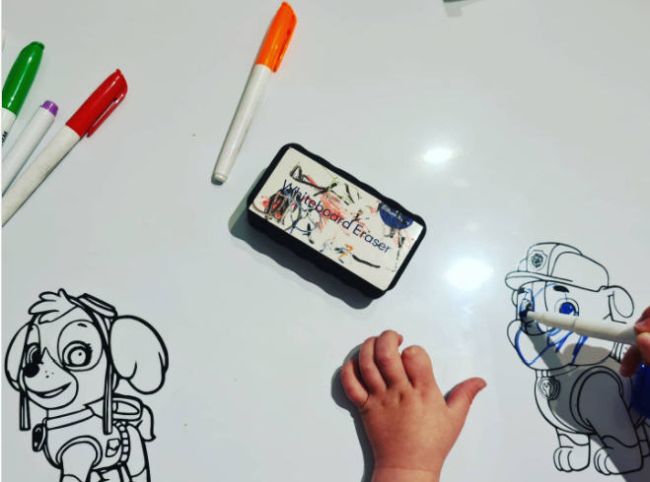

If you’ve got a die cut machine, use it to cut out adhesive vinyl outlines of favorite characters or shapes. Then add them to the whiteboard like @messygorgeouschaos did, and you’ve got a DIY coloring wall!
10. Add focal points with dry erase dots

Dry erase dots are so cool! They’re removable stickers you can add to lots of surfaces. Combine them with your whiteboard to make bright focal points on the board, like @whalenvpk.
Cleaning Whiteboard Hacks
Use these whiteboard hacks to keep new boards in tip-top shape or to renew tired old boards that need some TLC.
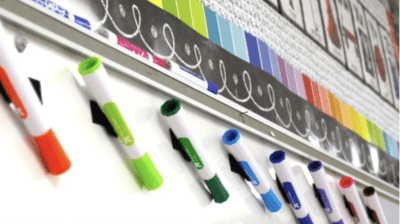
11. Add pom pom erasers to dry erase markers
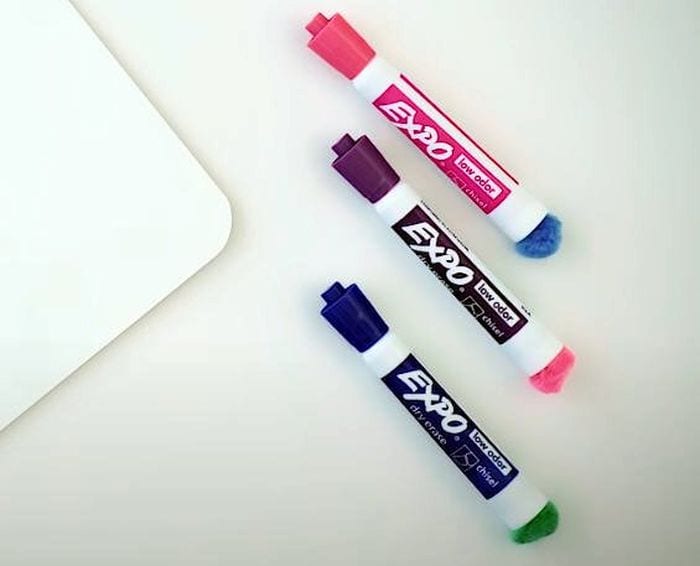

Dry erase markers have replaced chalk in most classrooms these days. But one thing remains the same … where do all those erasers wander off to? Pick up a bag of pom poms and hot glue one to the end of each marker. Now you’ll always have an eraser when you need it!
12. Use microfiber towels as board erasers
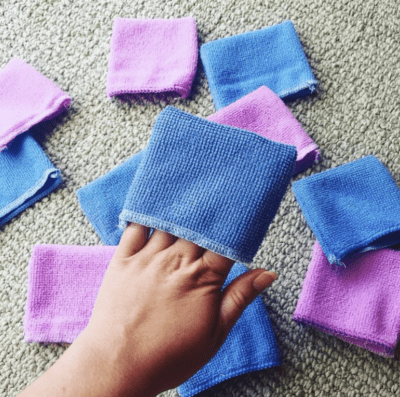

Pick up some inexpensive microfiber cloths, and cut them up. Use them as-is, or sew them into mitts like @beingmissausten did.
13. Pop foam curlers onto thin markers
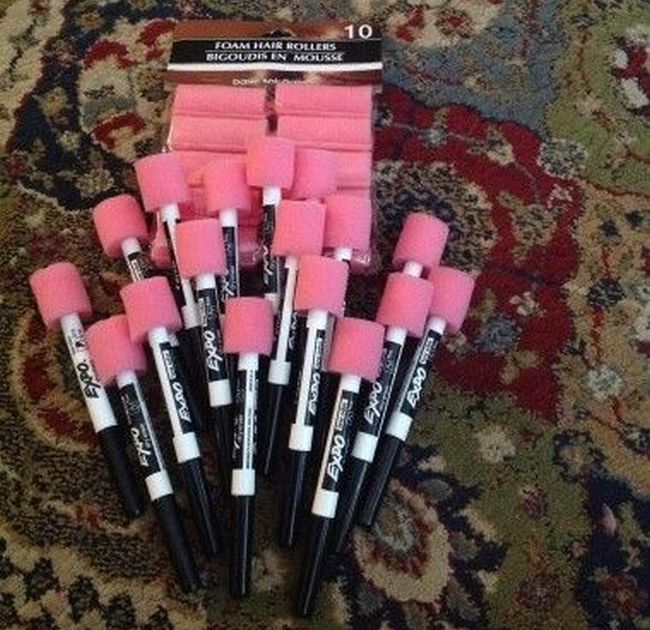

Snag a pack of foam hair rollers from the dollar store, then cut them into pieces and slide them onto thin dry erase markers. Thanks to Carla Pitts-Richardson on Pinterest for this tip!
14. Remove permanent marker with dry erase markers
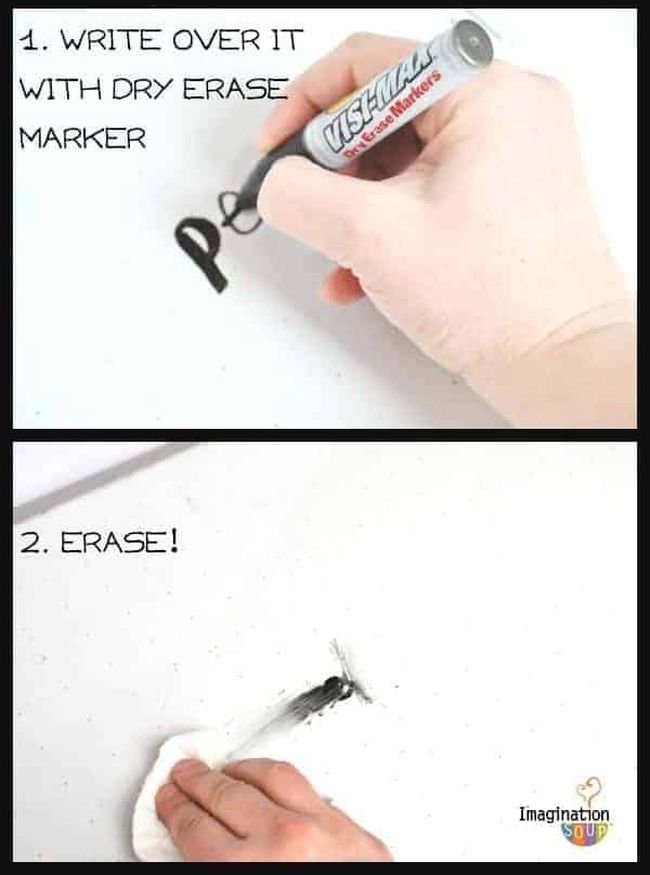

Did someone accidentally write on the whiteboard with a permanent marker? Good news! Imagination Soup confirms that all you need to do is write over it with a dry erase marker, and the alcohol in the ink will help lift the permanent marker up when you erase. Alcohol-based disinfecting wipes work too.
15. DIY some whiteboard cleaner
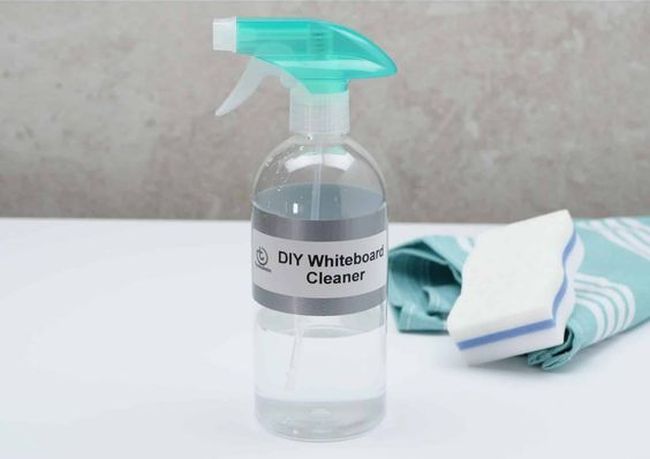

There are lots of recipes out there for homemade whiteboard cleaner. One of our favorites: mix 1/3 cup of rubbing alcohol with 1 cup of water in a spray bottle. Spray the board and allow it to sit for a minute, then wipe clean. Find other DIY whiteboard cleaner recipes at Tips Bulletin.
16. Attack stubborn marks with toothpaste
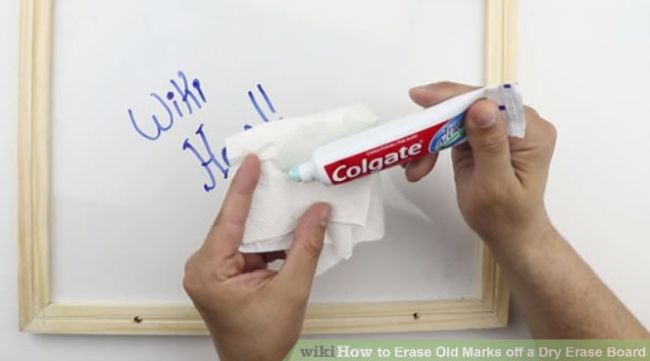

Toothpaste is a mild abrasive, enough to clean stubborn marks without damaging your board. Choose the plain white paste type for best results. Learn more at Wikihow.
17. Re-use dryer sheets to keep things clean


Save your used fabric softener sheets because they make terrific whiteboard erasers! Watch a video to see this in action at BTOD.
18. Refresh and protect an old board with WD-40
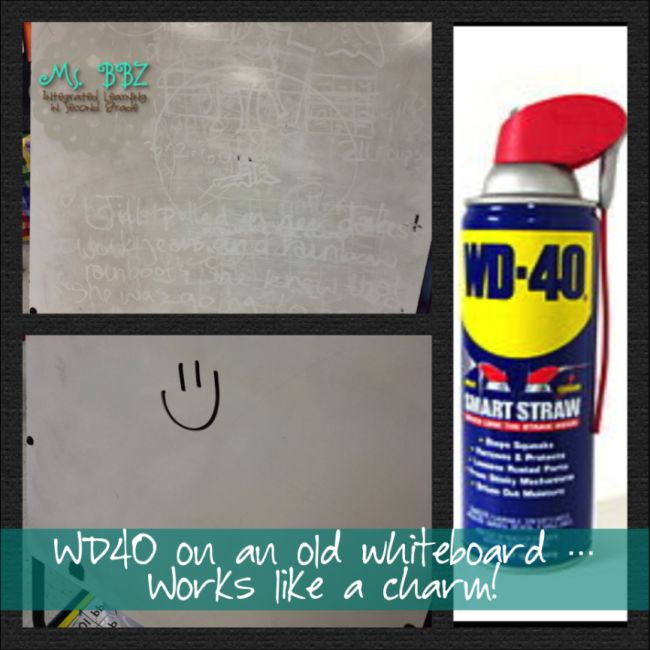

After a while, the smooth surface on a whiteboard can start to break down, making markers harder to erase. Mom Deals notes that WD-40 works like a charm to clean your board and add a slick new surface. MakerJosh even ran a whole series of tests to prove it’s the best!
19. Clean dry eraser marker off the wall with alcohol
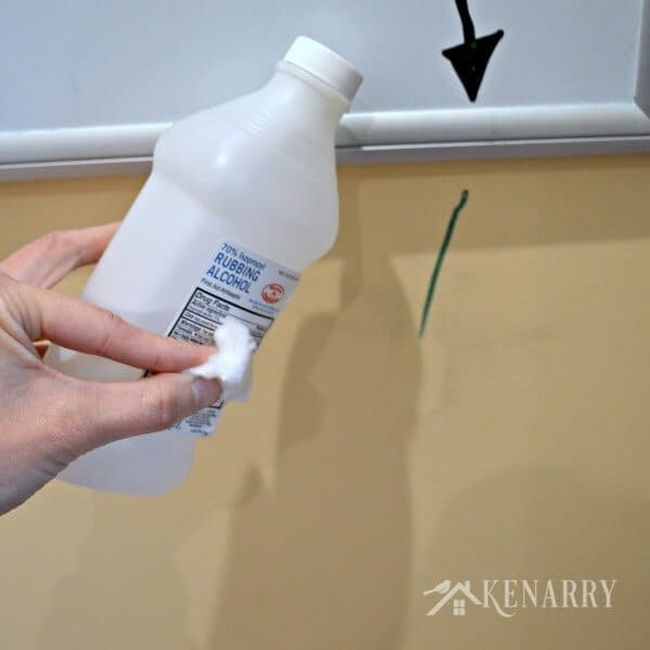
Accidents happen! Fortunately, Kenarry notes that you can clean dry erase marker off a painted wall by rubbing gently with rubbing alcohol. (Test in an inconspicuous place first to make sure it’s safe on your wall.)
20. Revive dried-out markers
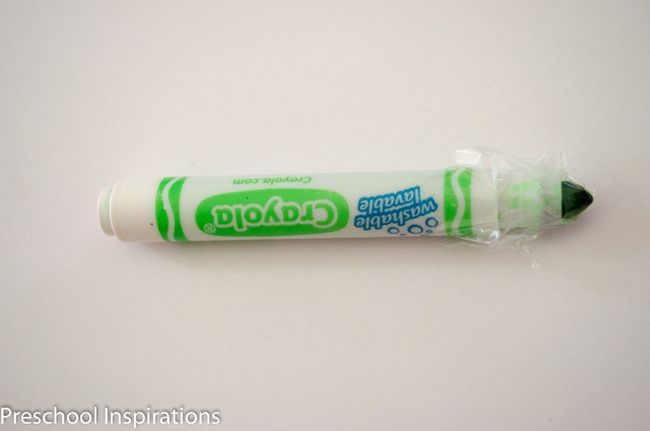

Dried-out markers are inevitable. Sometimes, though, you can rescue them using this method from Preschool Inspirations. Run the tip under a very slow stream of water to re-wet it. Then wrap the tip in plastic wrap, add the lid, and let sit overnight. Test the marker to see if it worked.
Organization Whiteboard Hacks
Need new ways to corral your dry erase markers, erasers, and other supplies? These whiteboard hacks are here to help.
21. Repurpose a shower caddy
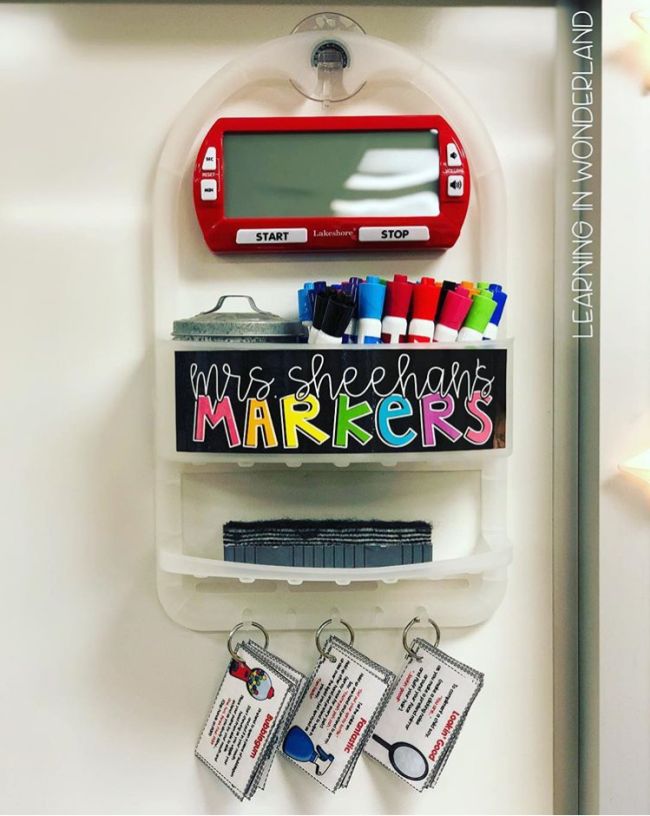

Suction cups stick perfectly to clean whiteboards. Hang a shower caddy like @learninginwonderland and use it to store markers, erasers, and more.
22. Corral your supplies
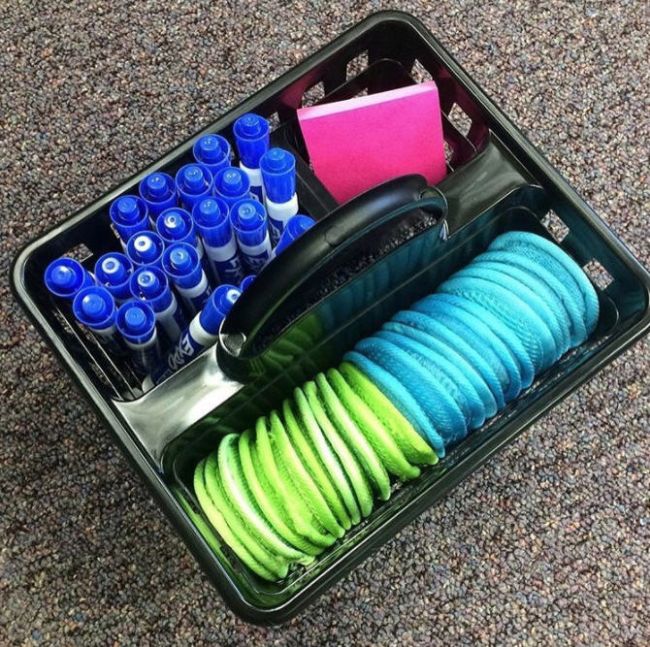
@heyheyfirstgrade keeps her whiteboard supplies in a cleaning caddy, so she can carry it wherever she goes. (Bonus hack: Reusable face cleaning pads make awesome erasers!)
23. Give lost caps a temporary home

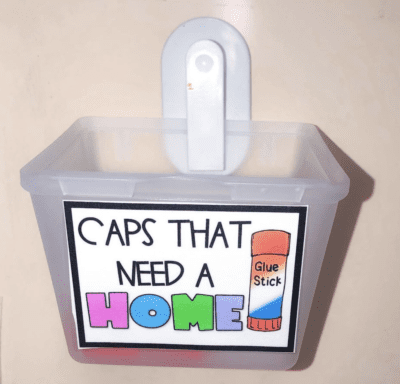
During clean up time, save lonely caps to be used the next time a cap goes missing. @sweetfirstiefun uses this idea for glue stick caps too.
24. Label your “teacher markers”
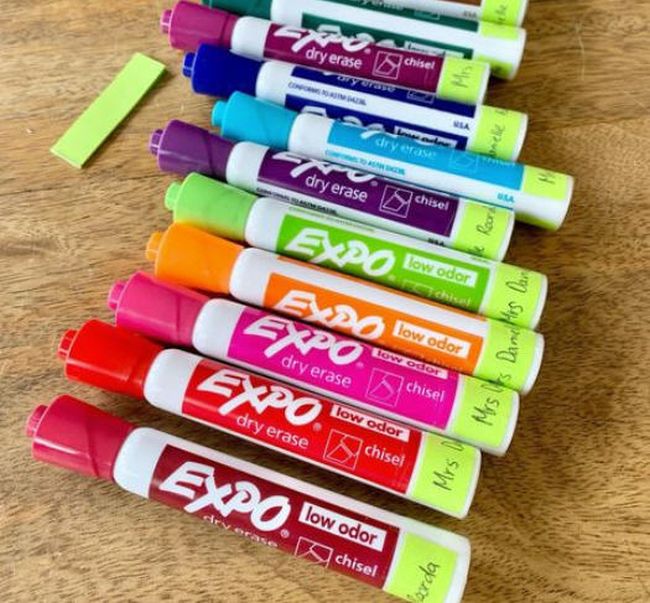

Good dry erase markers are worth their weight in gold. Protect your teacher markers by labeling them with bright tape and your name, like @mrsroordasroom.
25. Keep dry erase markers out of reach

Labels not working? Keep your dry erase markers handy and away from grabby student fingers with this clever trick. Simply use adhesive Velcro to hang them up high, as Lucky Little Learners does. This will leave the ledge open for other items too.
26. Use magnetic accessories to organize
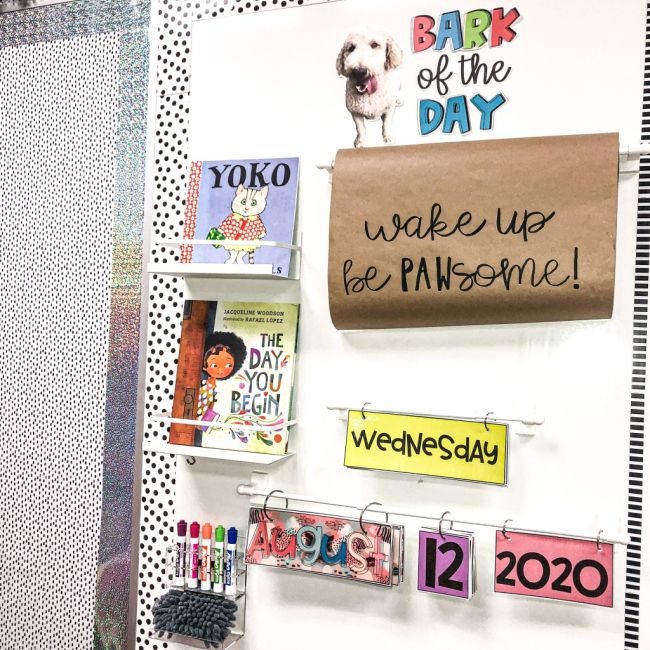
Whoever made sure that whiteboards worked with magnets was an absolute genius. Take a cue from Rachael Burnett and use magnetic spice racks and mini curtain rods to organize and add space to your board.
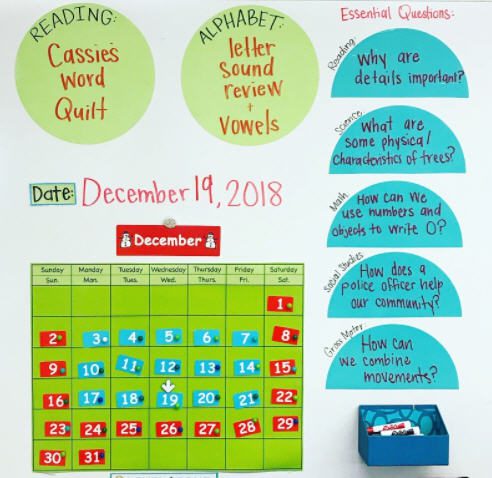
27. Turn a whiteboard into a calendar
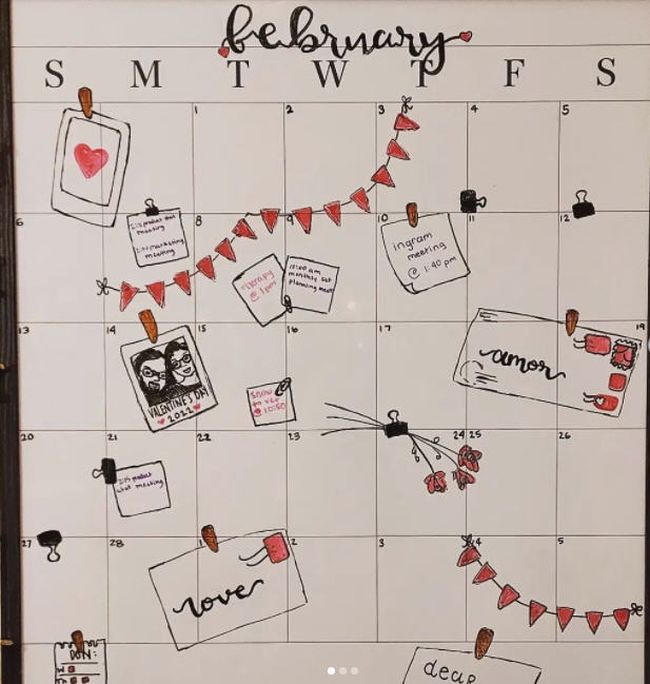

You can buy pre-made whiteboard calendars or just make your own with paint markers or striping tape. Cute monthly decorations like the ones from @emily.ollis are optional, but so fun!
28. Add clothespins with removable adhesive strips
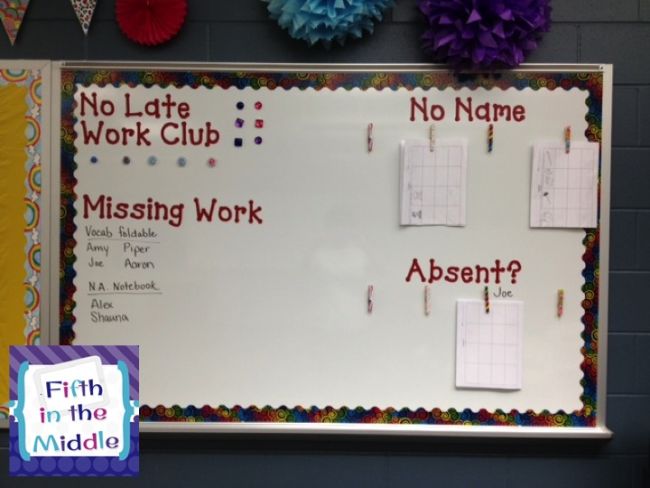

Add Command Strips or magnet tape to the back of clothespins and attach them to your whiteboard. Then you can use them to hold handouts, announcements, and other papers, like Fifth in the Middle.
29. Make an agenda corner
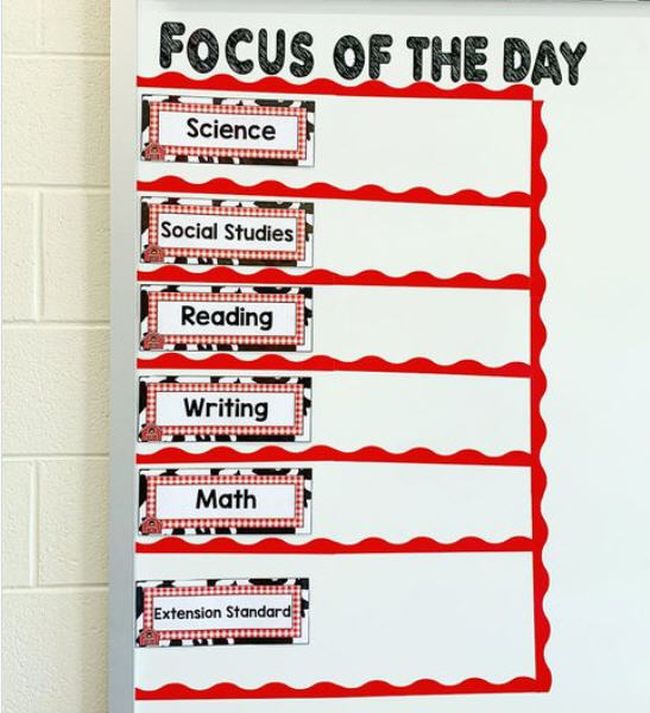

Use borders or electrical tape to mark off a corner with space for each subject or period, like @missmacymorrow. This gives students an idea of what to expect each day.
30. Set up a pencil borrowing system
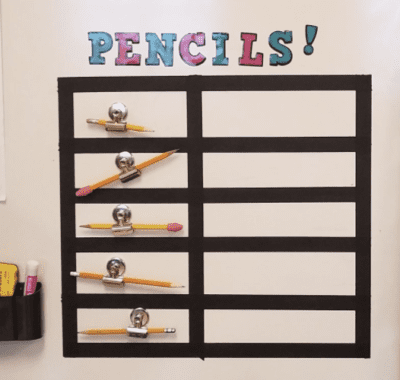

Use electrical tape to set up a pencil station like this one by @TheAlexNieves. Then have students write in their name when they need to borrow a pencil to save your pencil stash from going dry.
Plus, don’t forget to check out the interactive laser projectors available from EPSON, which allow you to keep your whiteboard space WHILE adding interactivity to your classroom.
![]()